

If you have ever trimmed a 12 by 12 sheet of scrapbook paper with scissors and a ruler, you know the feeling. You line everything up, hold your breath, and cut. Then you flip the piece over and see the edge drift a sixteenth of an inch, and the whole layout is off. I did that for years in my classroom and then in my own craft room, and I blamed my hands every time. The truth is that scissors are the wrong tool for a straight line longer than a few inches. The Fiskars ProCision folding rotary bypass cutter is the tool that finally fixed that for me.
This guide is the method I use now, step by step, for cutting straight scrapbook paper with the Fiskars ProCision. It is the same routine I show friends at craft night, and it works for 12 by 12 sheets, 8.5 by 11 cardstock, and smaller pieces for cards and tags. I will also tell you where the tool has limits, because every cutter does.
The cutter that finally made my edges square
The Fiskars ProCision uses a rotary blade that rides along a folding rail, so the blade cannot wander the way a hand-held cutter can. If you are tired of trimming the same sheet twice, this is the tool to try.
Amazon Check Today's Price on Amazon →Step 1: Set up the cutter on a flat, stable surface
The ProCision folds flat for storage, which is one of the reasons I chose it for my spare-bedroom craft room. Before you cut, unfold it and press down on the base so the rubber feet grip the table. A wobbly table will give you wobbly cuts, so if your table rocks even a little, slip a folded dish towel under the short leg. I learned that the hard way one Tuesday night in January when I tried to trim a stack of Valentine cards on the kitchen table, and every single cut came out a hair off because the table had a slow wobble I had never noticed.
I keep mine on the long folding table under the window, with the cutting rail facing me. The rail is the metal bar the blade carriage rides on, and it needs to sit square to the edge of the table. You do not need to measure this. Just make sure the cutter is not twisted on the tabletop, because the rail is your straightedge for the whole job. I check mine by running a fingertip along the back edge of the base to feel that it is sitting flat, and I do that every time I unfold it, not just once.
One more setup note: give yourself room on the left side of the cutter if you are right-handed, or on the right side if you are left-handed. You will be holding the paper with one hand while the other hand pulls the blade carriage, and you do not want your elbow bumping a stack of supplies. I keep a small waste bin to my left for trimmings, and I clear the tabletop of anything taller than the cutter before I start a batch.
Step 2: Square up the paper against the fence
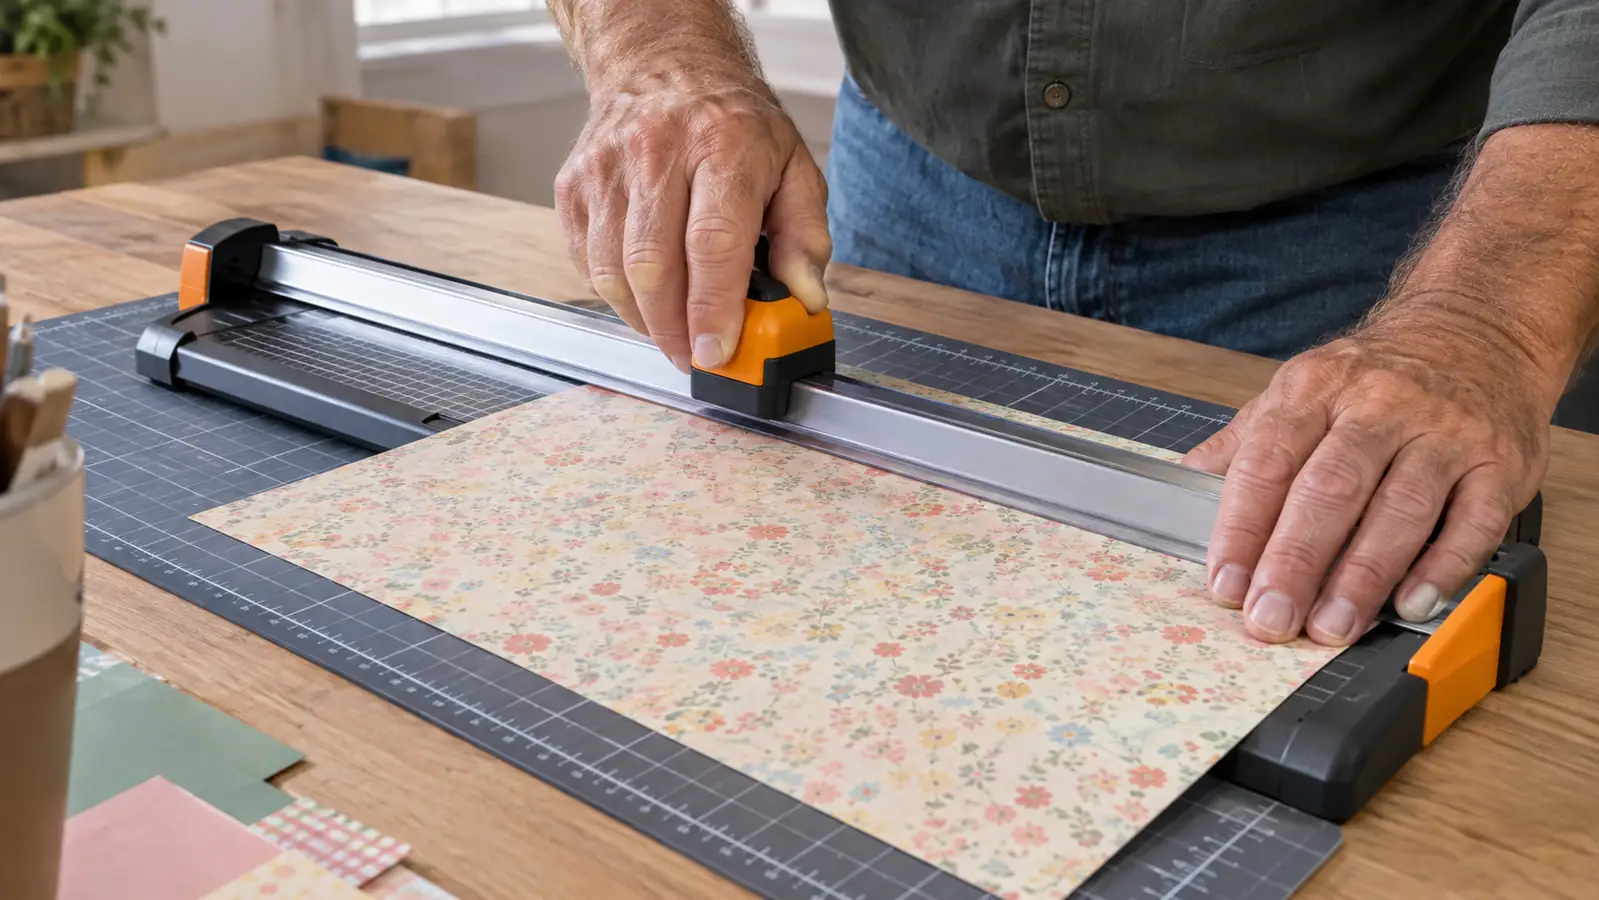
The ProCision has a metal fence that runs along the back of the base, and that fence is your true straightedge. Slide your sheet of scrapbook paper under the rail and push it firmly against the fence. The long edge of the paper should sit flush against the fence for its entire length. If one corner is lifted even a little, your cut will be square to the fence but not square to the paper. I have a habit of checking the left corner, then the right corner, then the left corner again before I commit to a cut.
This is the step most people rush, and it is the step that causes crooked cuts. Take the extra two seconds to run your fingers along the back edge of the paper and feel for any gap between the paper and the fence. When the paper is flush, you are ready to cut. If you are working with a sheet that has a wavy edge from being stored in a stack, press it flat against the fence with the heel of your hand and hold it there while you make the cut.
If you are trimming a sheet down to a specific size, use the grid markings on the base to position the paper, then double-check the measurement at both ends of the cut line. Measuring at both ends is what keeps the cut parallel to the edge you are trimming. For a 4 by 6 photo mat, for example, I line up the 4 inch mark at the left edge and the 4 inch mark at the right edge, and I check both before I pull the carriage.
Step 3: Hold the paper down and make the cut
Place the flat of your non-dominant hand on the paper, close to the cut line but not on it. You want the paper pressed against the base so it cannot slide. Then grip the blade carriage with your other hand and pull it smoothly from one end of the rail to the other. I aim for a steady count of about two seconds across the full 12 inch rail, not a fast yank and not a slow creep.
Do not push down hard. The ProCision is a rotary bypass cutter, which means the round blade passes against a fixed blade, like a pizza cutter meeting a cutting edge. The weight of the carriage is enough. If you press down hard, you will fight the blade and the cut can pull. Let the tool do the work and keep a steady, even speed. The first time I used it, I pressed down the way I did with my old guillotine cutter, and the paper shifted a quarter of an inch. Once I stopped pressing, the cuts came out clean.
I have mild arthritis in my right thumb, so I was worried about the grip on this cutter. The carriage is comfortable to hold and the motion is a pull across the table, not a squeeze. I can cut a dozen 12 by 12 sheets in a session without my thumb complaining, which I could not say for the guillotine-style cutter I tried years ago. That one required a hard push down on a lever, and after ten cuts my thumb was sore for the rest of the evening.
Step 4: Check the edge and trim the second side
After the first cut, lift the paper and look at the edge in good light. A clean cut should show no fuzzy fibers and no torn patches. If the edge looks rough, the blade may need replacing, and I will talk about that in a moment. I hold the paper up to the window light and tilt it slightly, because a rough edge shows up as a bright line of fibers when the light catches it.
For a square corner, you now rotate the paper 90 degrees, press the freshly cut edge against the fence, and make the second cut. That is the whole trick to a square corner: every cut is measured from the edge you just made straight. Work your way around the sheet, cutting one side at a time, and you will end up with a true rectangle. I do the two long sides first, then the two short sides, and I recheck the fence contact on every single cut.
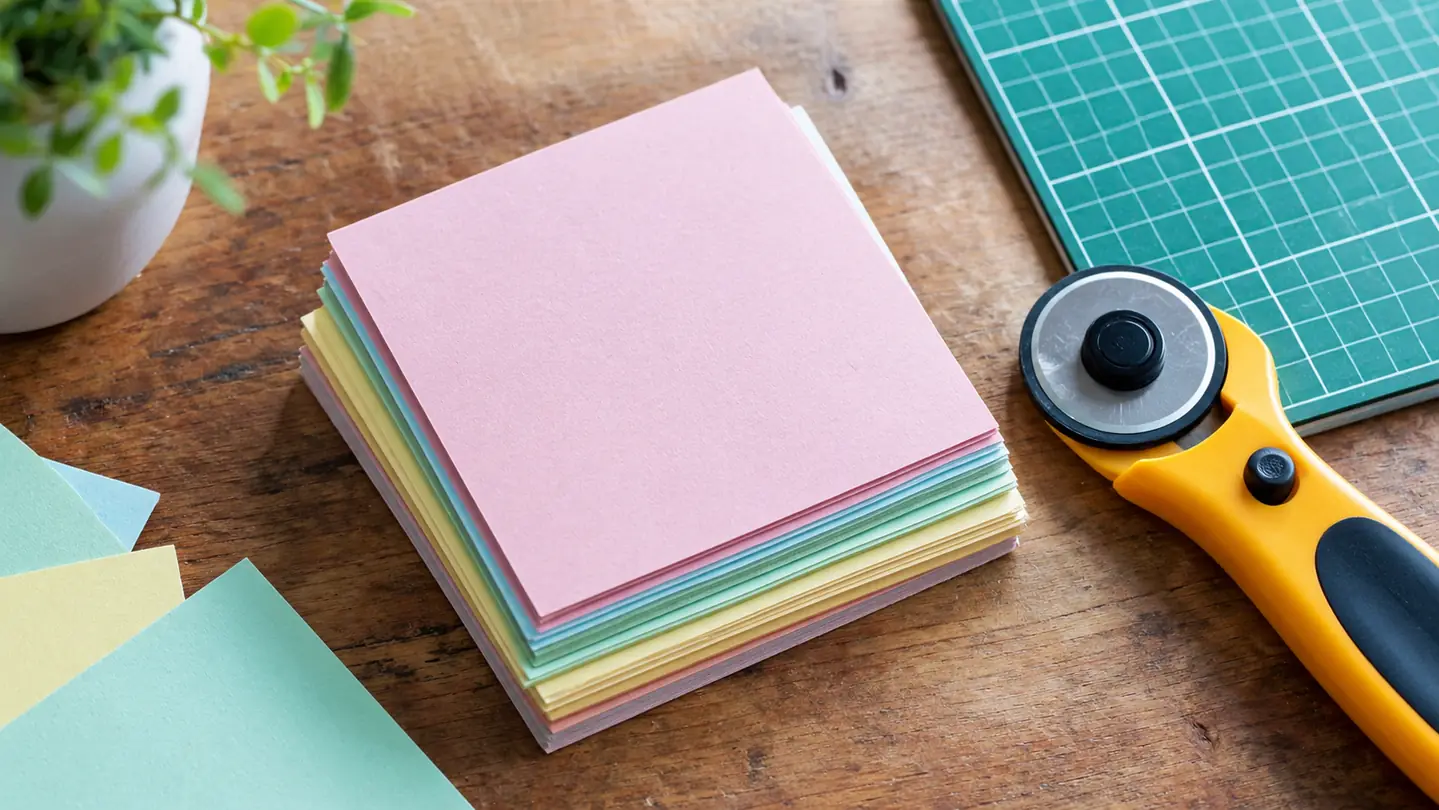
If you are cutting multiple sheets to the same size, do not measure each sheet separately. Cut one sheet square, then use it as a template. Stack the uncut sheets underneath, line up the edges, and cut through the stack. The ProCision handles two or three sheets of standard scrapbook paper at a time, which saves a lot of evening. I cut a stack of twenty 6 by 6 sheets for a monthly craft night in about fifteen minutes this way, and every square came out the same size.
Step 5: Replace the blade before it gets dull
The rotary blade in the ProCision is replaceable, and that is the maintenance step most people skip. A dull blade does not cut paper. It tears it, and the tear shows up as a white fuzzy line along the edge. If you see that line, do not buy a new cutter. Buy a replacement blade. I noticed the first sign of dulling on a Saturday morning in March while cutting a batch of birthday cards, and a fresh blade fixed the edge immediately.
Fiskars sells replacement blades for the ProCision, and swapping one takes about a minute. The carriage opens with a small release, the old blade lifts out, and the new one snaps in. I keep a spare blade in the rolling cart beside my table so I never have to stop mid-project. The first time I changed it, I did it on a scrap piece of cardstock to make sure the new blade was seated correctly before I trusted it on a real sheet.
How often you replace the blade depends on how much you cut. I do a lot of card making and scrapbooking, and I change mine about twice a year. If you cut mostly cardstock, which is harder on blades than patterned paper, you will change it more often. When in doubt, cut a test line on a scrap piece and look at the edge. A clean test cut means the blade is fine, and a fuzzy test cut means it is time to swap.
What Else Helps
The Fiskars ProCision does the straight cutting, but a few other things make the job easier. A self-healing cutting mat protects your table and gives you a grid to check your measurements. A bone folder gives you crisp creases for card making. And a good light matters more than you think, because you cannot see a slightly lifted corner in dim light. I added a small LED desk lamp to my table last fall, and it made a bigger difference than I expected.
I also keep a small ruler with a non-slip backing near the cutter. It is handy for double-checking measurements and for scoring fold lines. None of these extras are expensive, and they all make the ProCision easier to use well. The ruler lives in the top drawer of my rolling cart, right next to the spare blades, so I never have to hunt for it in the middle of a project.
The whole trick to a square corner is simple: every cut is measured from the edge you just made straight.
Start with a straight edge and the rest follows
The Fiskars ProCision folding rotary bypass cutter is the tool I reach for every time I need a clean, square cut. If your scissors and ruler have let you down one too many times, this is the upgrade.
Amazon Check Today's Price on Amazon →