
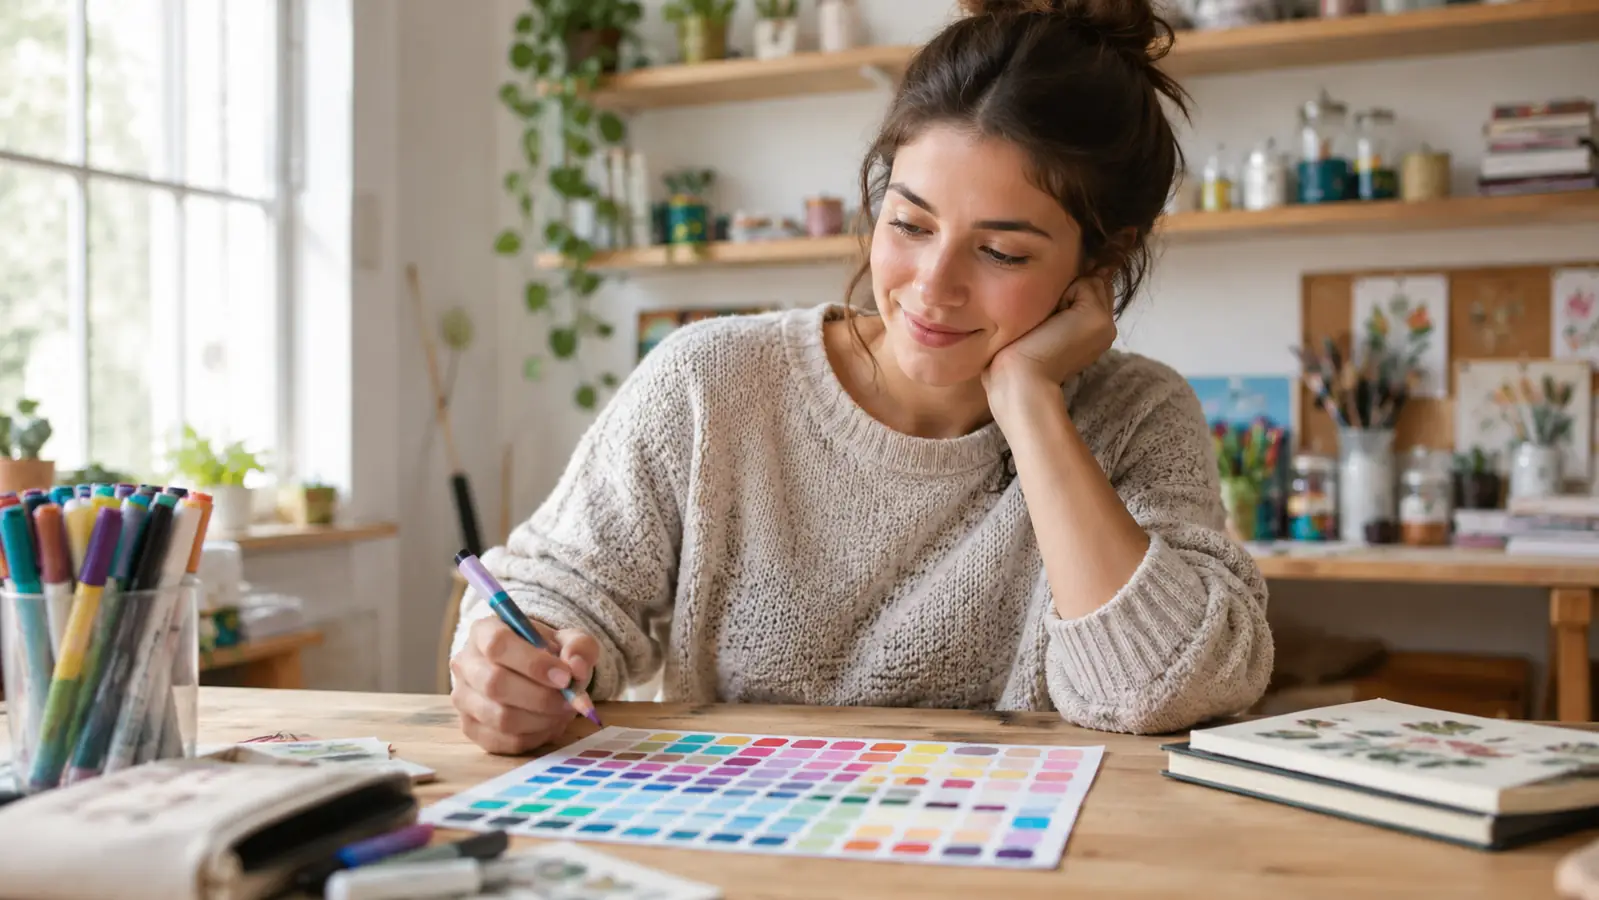
I have a confession. For the first year I owned alcohol markers, I was convinced I was doing it wrong. Every tutorial made it look effortless: two strokes, a little wiggle, and suddenly a sunset melted into a peach. Mine looked like a child had colored over a crayon drawing with a wet sock. Then I sat down with the Ohuhu 100 color set and forced myself to stop watching videos and start making mistakes on purpose. That is when blending finally clicked. If you have a set of Ohuhu markers sitting in a drawer and a stack of practice paper, this guide is for you.
I am Paula, a retired middle school art teacher, and I have spent more hours than I can count at a folding table in my spare bedroom testing every blending method I could find. My right thumb has mild arthritis, so I also care about how much effort a technique takes. The good news is that alcohol marker blending does not require a heavy hand. It requires the right paper, the right color order, and a little patience. Here are the five steps I use every time.
Start with a 100 color set so you always have the bridge color you need
The Ohuhu 100 color set is the one I keep on my rolling cart. It has enough range that I rarely have to force a blend between two colors that do not want to get along.
Amazon Check Today's Price on Amazon →Step 1: Use paper made for alcohol markers
Before you blame your markers, check your paper. Regular printer paper and most coloring book pages will soak up the alcohol and dry before you can blend. The result is a hard line between colors and a rough, streaky surface. I learned this the expensive way with a whole coloring book I ruined. It was a floral book a friend gave me for my birthday, and I got through two pages before I realized the back of every petal looked like sandpaper. I set it aside and did not touch it again for months.
You want a smooth, coated paper that does not absorb the ink too fast. Marker paper, Bristol smooth, and the heavier cardstock made for alcohol markers all work well. I test a new paper by drawing two overlapping stripes and trying to blend them. If the ink stays wet for a few seconds, I can work with it. If it dries instantly, I set that paper aside for pencil work. My current favorite is a 9 by 12 inch marker pad with 60 sheets, and I have gone through three of them since I started practicing in earnest.
One more note: keep a scrap sheet under your hand. The natural oil from your skin can leave spots that resist the ink, and that shows up right in the middle of a blend. A piece of scrap paper under your palm fixes it completely. I learned this on a humid July afternoon when every blend I attempted had a pale blotch in the exact spot where my hand rested. I moved my hand to a scrap sheet and the blotches disappeared.
Step 2: Pick two colors that are close on the color wheel
The biggest mistake beginners make is trying to blend colors that are too far apart. A bright yellow and a deep purple are not going to melt into each other no matter how fast you work. They are going to make a muddy gray line in the middle. I know because I have made that exact gray line dozens of times. One evening I spent two hours trying to force a yellow to purple sunset and ended up with something that looked like a bruise. That was the night I finally looked up the color wheel and admitted I was the problem.
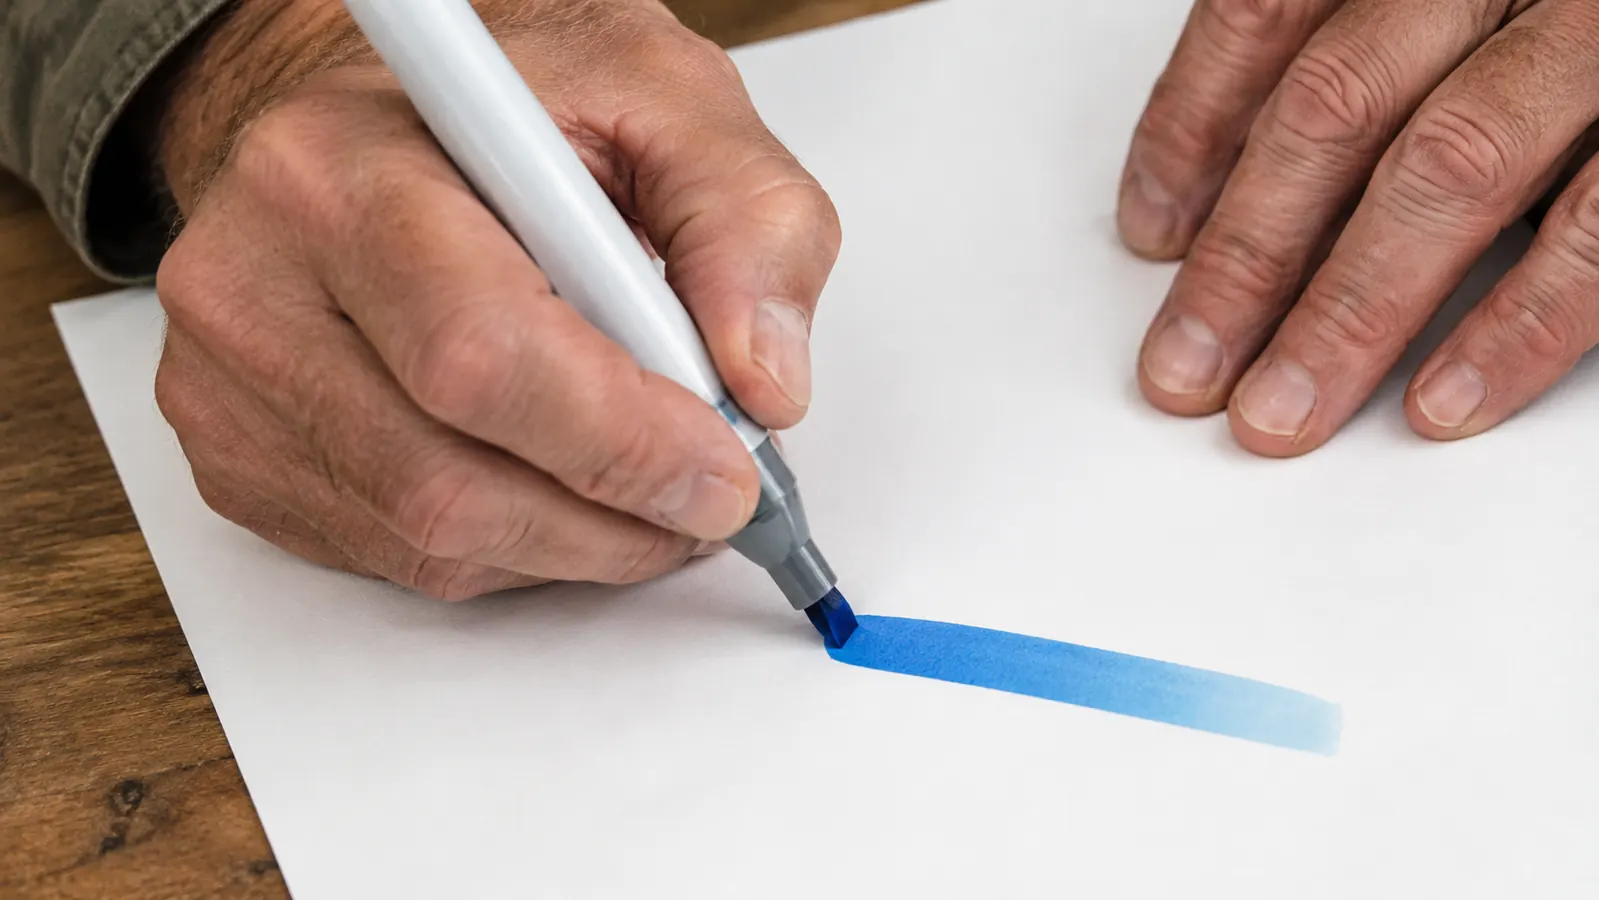
Instead, choose two colors that are neighbors on the color wheel, or two shades of the same color. A light pink and a medium pink blend beautifully. A warm yellow and a light orange blend beautifully. The Ohuhu set has numbered caps, and I have found that colors within a few numbers of each other usually get along. When I want a bigger jump, I add a third color in between as a bridge. For example, I blend a pale yellow to a deep orange by laying down the yellow, then a light orange, then the deep orange, and I work each pair separately.
Here is the test I use: lay a stripe of each color side by side with a small gap between them. If the two colors look like they could be cousins, they will blend. If they look like they belong to different families, find a middle color. I keep a running list in the back of my practice pad of pairs that work well together, and I add to it every time I find a new one. That list has saved me from staring at my marker rack for ten minutes trying to remember which pink goes with which peach.
Step 3: Start with the lighter color and lay down a base
This is the step that changed everything for me. Do not start with the dark color. Start with the light one and cover the whole area you want to blend, including the space where the dark color will go. This base layer keeps the paper wet and gives the dark ink somewhere to travel. The first time I tried it, I was skeptical because it seemed like extra work. Then I blended a light blue into a navy and watched the transition stay soft for the first time, and I never went back to my old method.
Use the chisel tip for this. It covers ground quickly and lays down an even layer of ink. I hold the marker at a low angle, almost flat against the paper, and use the full width of the tip. Two passes are usually enough. You want the paper to look evenly damp, not soaked. If the paper starts to pill or rough up, you have laid down too much ink. On a 4 by 4 inch square, I can lay a base in about thirty seconds once I am in a rhythm.
If you are working on a small area like a leaf or a petal, the fine tip works too, but you will need to move faster. The base layer is the foundation of the whole blend, so it is worth taking an extra minute to get it even. I usually do a second pass with the chisel tip at a slightly different angle to catch any thin spots I missed the first time.
Step 4: Add the darker color and work back into the light
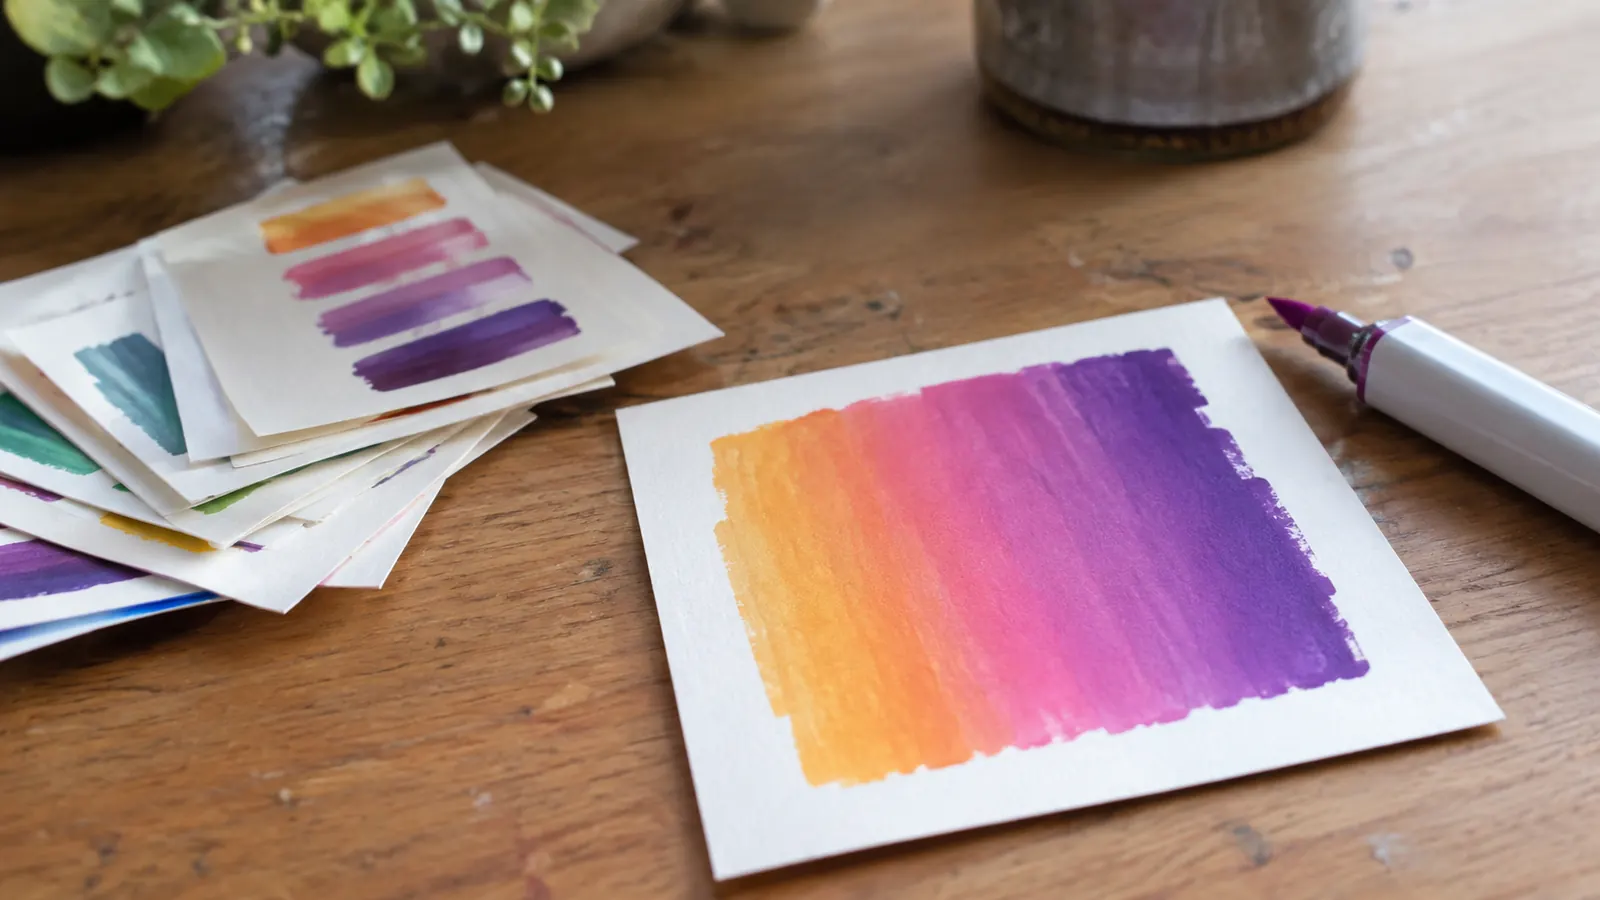
Now comes the part that looks like magic when it works. Starting at the edge of your base layer, lay down the darker color. Do not cover the whole area. Leave a strip of the light color showing at the far end. Then, before the ink dries, go back with the light marker and pull the dark color into the light area. I aim for the dark color to cover about two thirds of the base, which leaves a clear light zone at the far edge and gives me room to pull the transition across.
The motion is a back and forth wiggle, like you are nudging the dark ink across the paper. I work in small sections, about an inch at a time, and I do not lift the marker until I have crossed the whole blend zone. The alcohol in the light marker reactivates the dark ink and carries it along, which is what creates the smooth transition. On a good day, a two inch blend takes me about a minute and a half. On a bad day, I set the piece down and come back after a cup of tea.
This is also where my arthritis taught me something useful. You do not need to press hard. The marker does the work, not your hand. A light touch is actually better because it keeps the paper from getting rough. If your hand cramps, you are pressing too hard. I hold the marker like I am holding a pen I barely trust, with my fingers loose and my wrist resting on the scrap sheet. That grip keeps my thumb from aching and gives me more control at the same time.
Step 5: Smooth the transition with a colorless blender
A colorless blender is a marker filled with clear alcohol and no pigment. It is the closest thing to an eraser for alcohol markers. When my blend has a stubborn line in the middle, I go over it with the blender using the same back and forth motion. It pushes the pigment around and softens the edge. I keep my blender in the front slot of my marker case so I can grab it without looking, because I reach for it on almost every piece I finish.
The Ohuhu set includes a blender marker, which is one of the reasons I reach for it so often. I use it in three situations: to soften a hard line, to lighten an area that got too dark, and to clean up the edge of a blend that wandered outside the lines. It will not remove ink completely, but it will dilute it and move it. Last month I used it to rescue a sky that had turned into a dark band across the top of a card, and by the time I finished, the band looked like a soft cloud shadow instead of a mistake.
One caution: the blender works best when the paper is still a little damp. If the ink has fully dried, the blender can push the pigment around but it will not create the same soft transition. When that happens, I lay down a fresh light base and start the blend again. It takes less time than you think. I timed myself once and a full redo of a two inch blend took about four minutes, which is faster than the ten minutes I used to spend trying to fix a dried line.
What Else Helps
A few small habits made a bigger difference than any fancy tool. I keep a swatch sheet for my Ohuhu markers so I can see the true color of each cap before I commit. I store the markers flat on their sides so the ink stays evenly distributed. And I cap each marker the second I am done with it, because alcohol markers dry out faster than any other art supply I own. I lost a favorite warm gray that way last winter, and now the cap goes on before the marker even leaves my hand.
I also keep a practice pad next to my good paper. Every time I try a new color combination, I test it on scrap first. That one habit has saved me from ruining more finished pieces than I can count. Blending is a skill you build with repetitions, not with a perfect first try. I tell the friends at my monthly craft night the same thing: give yourself permission to make ugly swatches for a while, and the pretty ones will show up on their own.
The marker does the work, not your hand. A light touch is actually better because it keeps the paper from getting rough.
Give yourself a full weekend of practice paper and the Ohuhu 100 set
The set has the color range and the blender marker you need to build the skill. All that is missing is the practice time, and that part is free.
Amazon Check Today's Price on Amazon →