
The first time I tried to make a beaded bracelet, I used a pair of kitchen scissors, a spool of thread I found in a drawer, and a clasp I had no idea how to attach. The bracelet fell apart before I finished the second cup of coffee. If that sounds familiar, the shynek jewelry making kit is the fix I wish I had bought years ago. It is not magic, and it will not make your hands steadier than they are, but it puts every tool and finding you actually need in one box, and it makes the whole process feel doable.
I am Paula, a retired middle school art teacher, and I have spent the last month making bracelets at the folding table in my craft room. My right thumb has mild arthritis, so I care a lot about tools that grip well and do not make me fight for every crimp. This guide walks through the exact five steps I use now, plus the mistakes I made along the way so you can skip them.
Start with a kit that has the right tools, not just the prettiest beads
The shynek kit comes with 1857 pieces, including the pliers, wire cutters, crimping tool, and the findings you will actually use. I have been using mine for weeks and the tools still feel solid.
Amazon Check Today's Price on Amazon →Step 1: Set up your work area and sort the beads
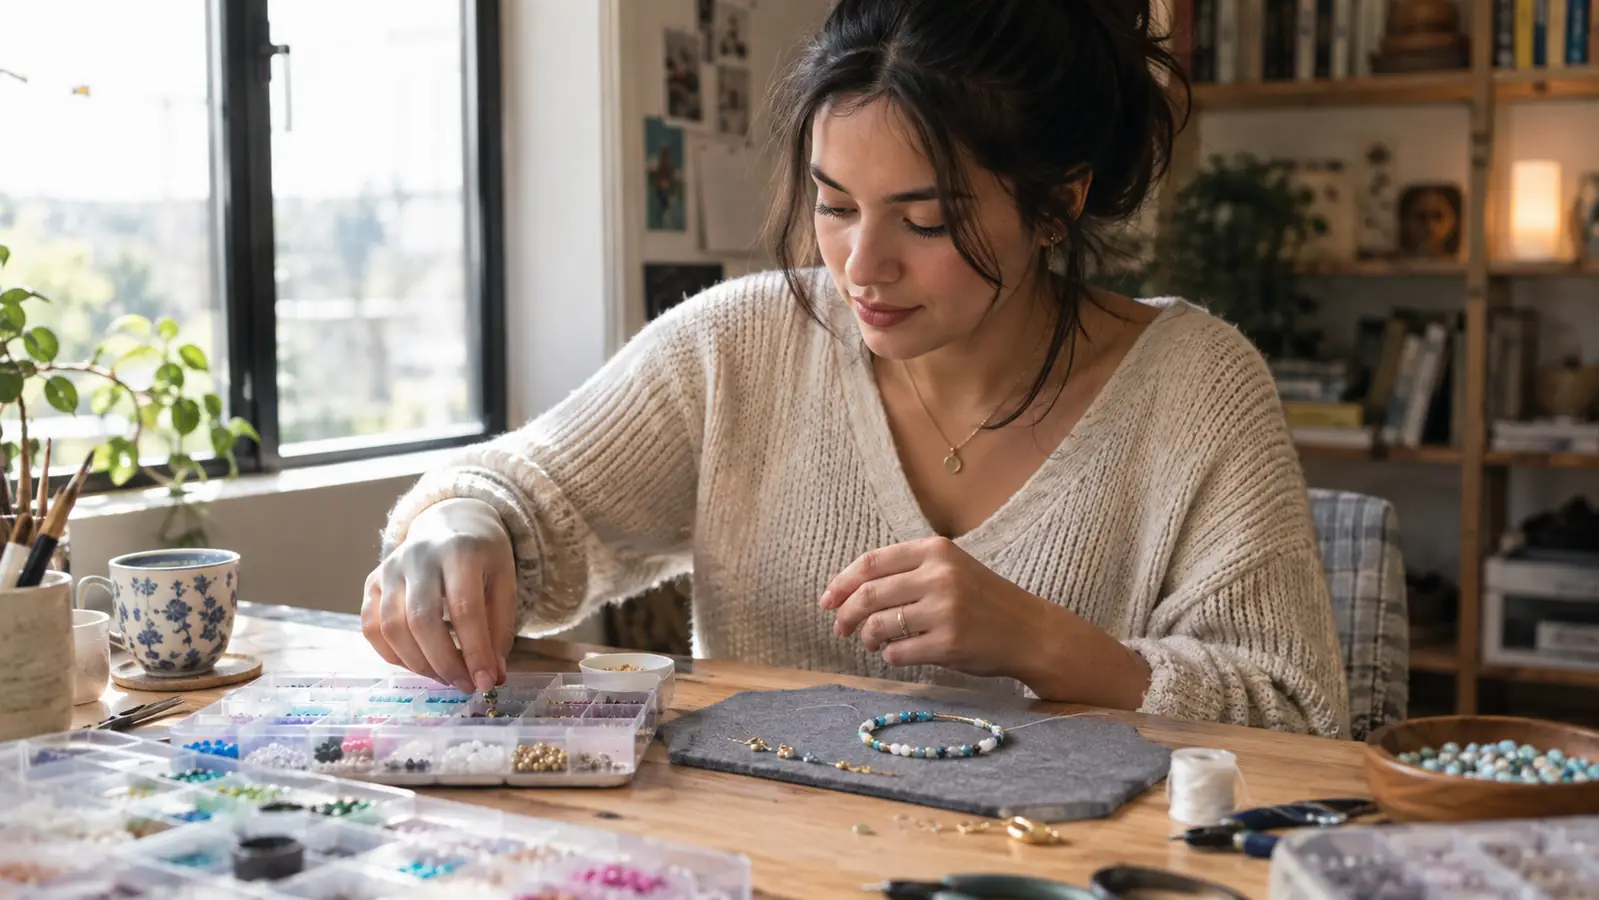
Before you open every bag at once, clear a space where you can leave your work out for a day or two. I use the folding table under the window in my craft room, with a bead mat in the middle. A bead mat is a small velvet or felt tray that keeps round beads from rolling. If the shynek kit did not include one, a clean kitchen towel works, but the mat is better because the beads stay where you put them.
My setup is a felt bead mat in the middle of the folding table, the shynek tray open beside it, and a small dish for the beads I have chosen for this bracelet. The mat is the important part. Beads bounce and roll on a bare table, and a felt surface stops them where they land. If you do not have a bead mat, a folded hand towel works almost as well.
The shynek kit comes with a lot of small bags. Do not dump them all into one bowl. I sorted mine into the compartment trays I already had, grouping beads by size first and color second. That took about twenty minutes and saved me an hour of hunting later. If you do not have trays, small ramekins or jar lids work fine.
One thing I learned the hard way: check the bead holes before you start. A few beads in any budget kit will have tiny or blocked holes. I keep a spare beading needle in the kit for exactly this. It takes two seconds to test a bead, and it saves you from stringing ten beads and then discovering one will not fit.
Step 2: Measure your wrist and cut the wire
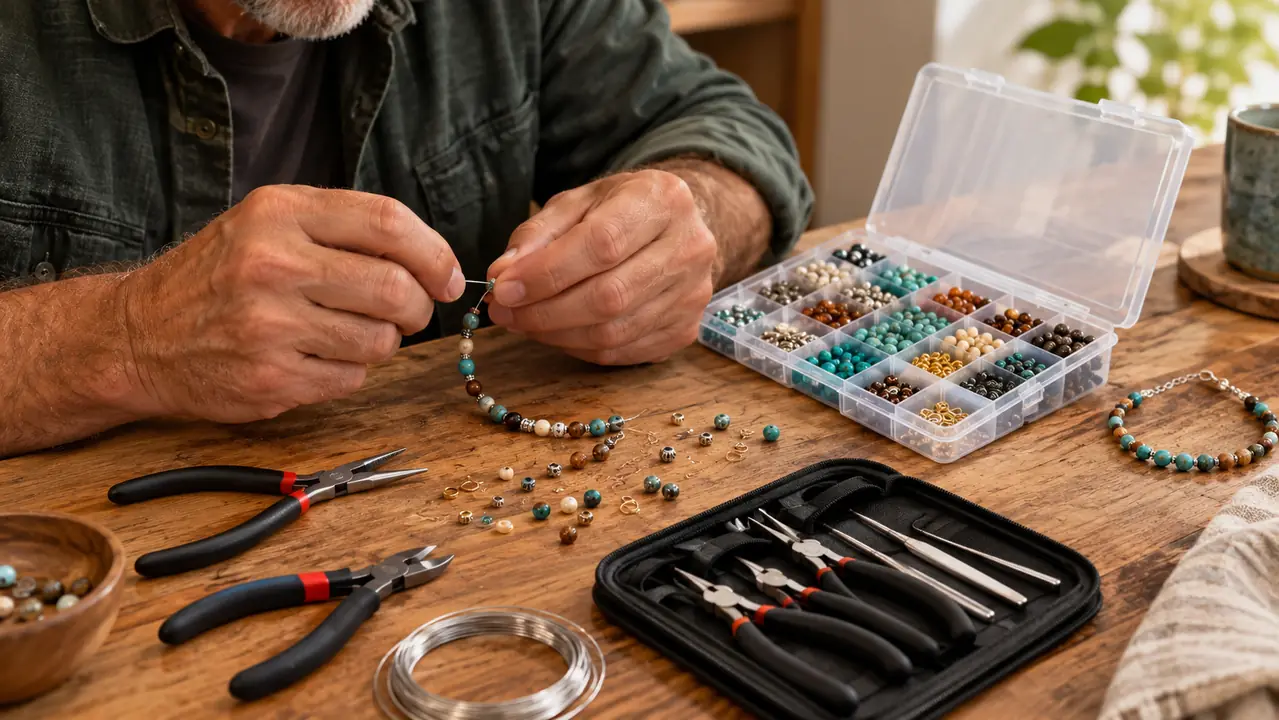
Wrap a flexible measuring tape around your wrist, or use a piece of string and lay it against a ruler. Write that number down. For a bracelet that slides over the hand, add about an inch to an inch and a half. For a snug fit, add half an inch. My wrist is about six and a half inches, so I cut most of my bracelets at seven and a half inches of wire.
Add about half an inch to three quarters of an inch to your wrist measurement for a comfortable fit. The clasp and crimps take up some of that length, and the beads themselves take up room on the inside of the circle, so a bracelet strung to your exact wrist size will feel tight. Write the finished length on a sticky note and keep it in front of you while you work.
The shynek kit includes spools of wire in a few gauges. For beaded bracelets, I reach for the thinner wire because it passes through most beads twice, which you need for a secure crimp. Cut the wire with the flush cutters from the kit, not your good scissors. The cutters are sharp and they make a clean end that does not snag the beads.
Here is the mistake I made the first time: I cut the wire exactly to the finished length and then had nothing left to thread through the clasp. You need extra length for the crimp beads and the loop. Cut longer than you think you need. You can always trim the tail after the crimp is closed.
Now I cut the wire about four inches longer than the finished length. That gives me two inches at each end to hold while I string and to thread back through the crimp. It feels wasteful, but a piece of wire that is too short to crimp is the only truly wasted wire, because you have to unstring everything and start again.
Step 3: String the beads in your pattern
Lay out your pattern on the bead mat before you string a single bead. I arrange the beads in a straight line so I can see the order, then I string them in groups of five or ten. This is the step that turns a pile of beads into a bracelet that looks intentional.
When you string, hold the wire near the end and slide each bead on gently. Do not push hard, especially with glass beads, because the edges can chip. If you are using a clasp with a loop, thread the wire through the loop first, then add a crimp bead, then go back through the crimp bead and the loop again. That creates the little loop that holds the clasp.
Put a bead stopper or a small binder clip on the far end of the wire before you start. It keeps the beads from sliding off while you work, and it lets you set the bracelet down to answer the phone without losing your pattern. When I forgot the clip on my second bracelet, I knocked the wire with my sleeve and spent ten minutes picking beads out of the mat.
I like to add a small spacer bead between larger beads. The shynek kit has plenty of spacers, and they make the bracelet drape better. They also hide the wire, which looks neater. If you are new to this, keep the pattern simple: a big bead, a small spacer, repeat. You can get fancy once you have made a few.
Step 4: Crimp the ends with the crimping tool
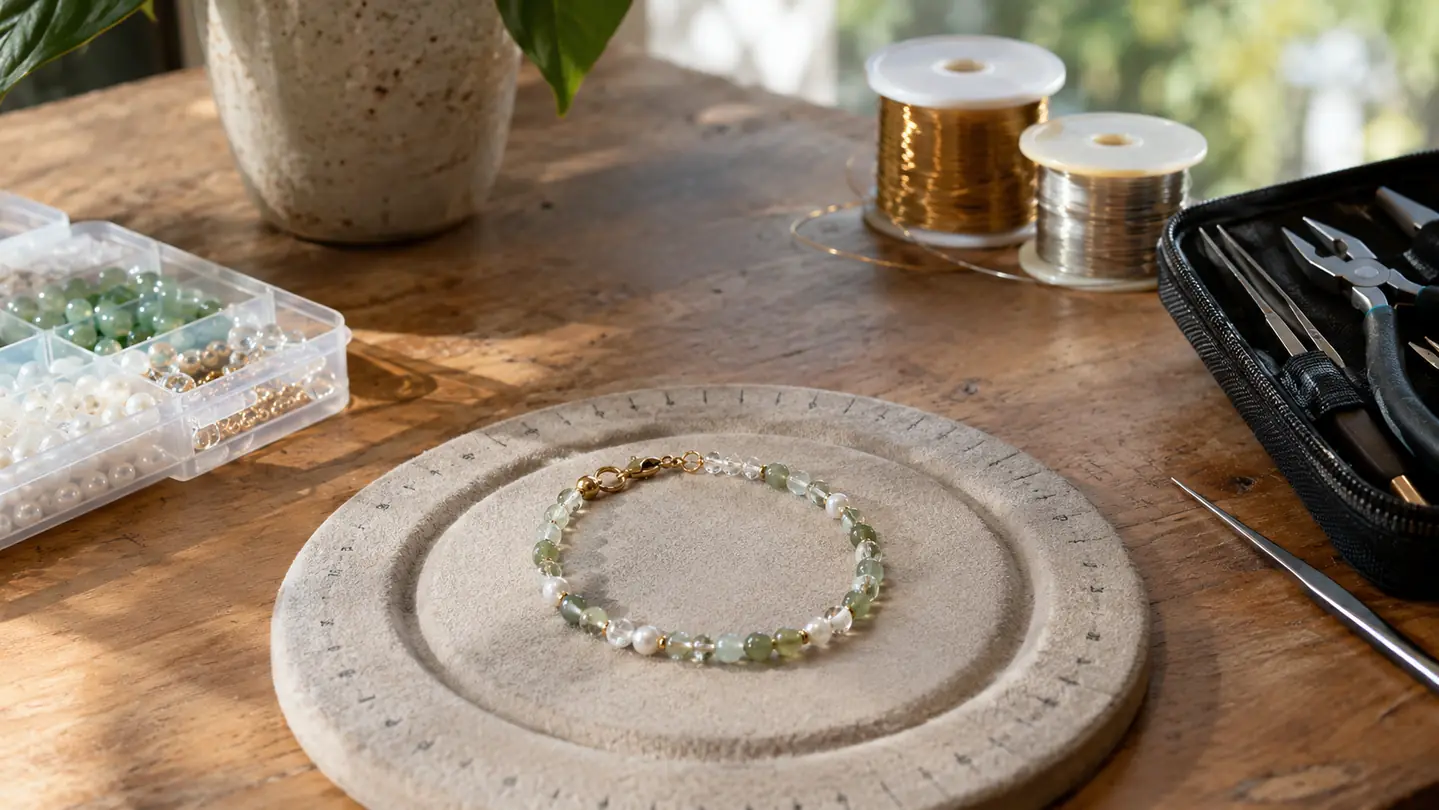
This is the step people skip, and it is the reason bracelets fall apart. A crimp bead is a small soft metal tube that you squeeze around the wire to hold the clasp. The shynek kit includes a crimping tool, which has two notches. You squeeze the crimp bead gently in the first notch to flatten it, then use the second notch to fold it into a rounded shape.
Here is the sequence I use. Slide a crimp bead onto the wire, then one half of the clasp. Loop the wire back down through the crimp bead and through the first two or three beads of the bracelet. Pull the tail snug so the loop holding the clasp is small but still moves freely. Then squeeze the crimp bead closed with the crimping pliers, or flatten it firmly with chain nose pliers if you prefer a simpler finish.
Do not squeeze with all your strength. I did that on my first bracelet and crushed the crimp bead so flat it cracked. A firm, controlled squeeze is enough. Test the crimp by tugging gently on the clasp. If it slides, open the crimp bead with pliers and try again with a fresh one. The kit includes extra crimp beads, so you can afford to practice.
A crimp needs firm, steady pressure, not force. If you squeeze too hard, the crimp can crack and the wire can kink inside it, which weakens the whole bracelet. I squeeze, release, rotate the crimp a quarter turn, and squeeze again. Then I tug the clasp gently. If the wire slides at all, I cut it off and crimp again, because a crimp that slips at the table will slip on the wrist.
My arthritis makes the crimping step the hardest for me, which is why I appreciate that the shynek tools have comfortable grips. The crimping tool is small but not flimsy, and the handles fit my hand well enough that I can make several bracelets in one sitting without my thumb complaining too much.
Step 5: Attach the clasp and check the fit
Once both crimps are closed, trim the extra wire with the flush cutters, leaving a tiny tail. Tuck the tail into the nearest bead if you can. Then attach the other half of the clasp the same way you attached the first half, with a crimp bead and a loop.
Do the second end exactly like the first, but before you crimp, gently push the beads together so there is no gap, then ease them back a hair. A bracelet strung too tight will be stiff and the wire will kink where it bends around your wrist. A tiny bit of slack lets the beads move and keeps the bracelet comfortable.
Try the bracelet on before you call it done. It should sit comfortably and the clasp should hold without gaping. If it is too tight, you can add a few beads or a small extender chain. The shynek kit includes extender chains, which are also handy if you are making a gift and do not know the person's exact wrist size.
The last thing I do is give the bracelet a gentle tug at every bead to make sure nothing is loose. A bracelet that survives a tug test will survive a day of wear. I have made seven bracelets with this kit so far, and the only one that broke was the first one, which I made before I learned to crimp properly.
What Else Helps
A few extras make the process easier. A bead mat is worth the few dollars it costs. A pair of magnifying glasses helps if your eyes are anything like mine. And a small tray with compartments keeps your work area tidy. The shynek kit covers the essentials, but I also keep a separate pair of fine-tipped tweezers in my craft room for picking up tiny crimp beads. You do not need to buy a lot of extras. Start with the kit, add a bead mat and a good light, and you will be surprised how far that gets you.
Good light is the other extra. A small task lamp aimed at the mat makes crimps and bead holes far easier to see, especially in the evening. A pair of reading glasses or a simple magnifier helps too. Your first bracelet will take about an hour. By your fifth, the same bracelet takes twenty minutes, and you will start inventing your own patterns.
The first bracelet I made with the shynek kit survived the tug test, the wrist test, and a full day of wear. The one I made before the kit fell apart before lunch.
Make your first bracelet tonight instead of next month
The shynek kit has the tools, beads, and findings you need, all in one box. I have made seven bracelets with mine and I still have plenty of supplies left.
Amazon Check Today's Price on Amazon →