
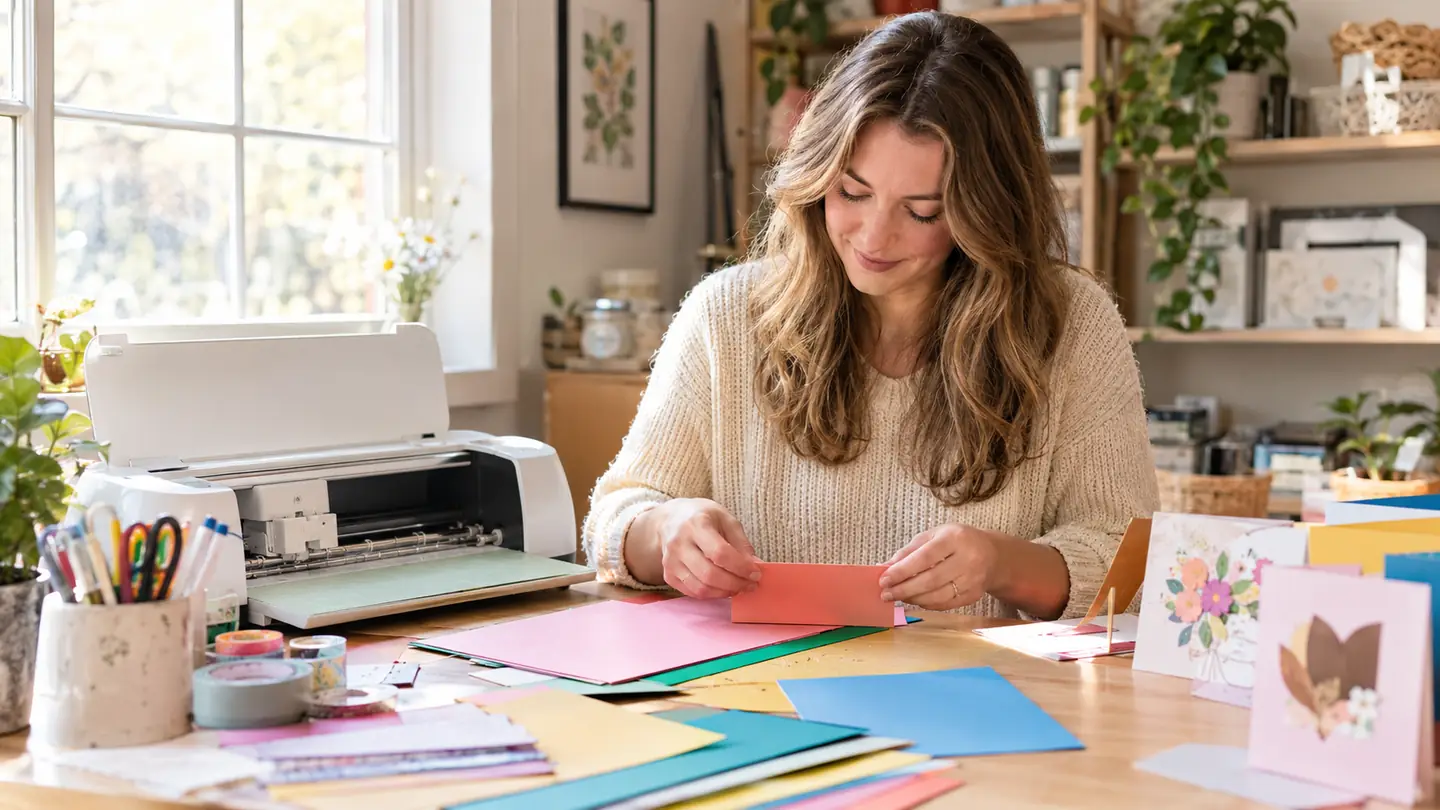
For years I told myself that cutting cardstock by hand was part of the charm of card making. Then I spent an evening in December trying to trim twenty-four card fronts to the same size with a rotary cutter, a ruler, and a very tired right thumb, and I changed my mind. That is the short version of why a Cricut Maker 3 now sits on the folding table in my craft room, and why I keep coming back to it for cards.
I am not a precision person by nature. I taught middle school art for thirty years, so I know what handmade charm looks like, and I also know when a project has crossed the line from charming to frustrating. Cutting cardstock by hand crossed that line for me on a regular basis. The Cricut Maker 3 does not make my designs for me, and it does not replace the fun of picking paper and stamps and ribbon. What it does is take away the part I was bad at: cutting the same shape twice, let alone twenty-four times, without the edges wandering.
The arthritis in my right thumb is mild, but it is real, and it changed how I think about cutting tools. Anything that needs a tight grip for a long time, like scissors or a rotary cutter, wears me out before the project is done. The Cricut Maker 3 does the cutting for me. I press a button and the blade moves; I just guide the paper onto the mat and peel the pieces off. That may sound like a small thing, but for me it is the difference between making one card and making a set of six.
Cut your first card tonight without wrestling a rotary cutter
The Cricut Maker 3 handles cardstock, vinyl, and more, and it does the repetitive cutting so you can spend your evening on the fun part. Check the current price and bundle details on Amazon.
Amazon Check Today's Price on Amazon →What You Need Before You Start
You do not need a dedicated craft room or a studio. I work at a folding table under the window in my spare bedroom, with a rolling cart of drawers beside me for paper and tools. The machine itself is about the size of a small printer, so it lives on the table when I am working and gets tucked onto the cart when I am not.
The bundle I have includes a Digital Content Library with thirty images in Design Space, which is Cricut's free design app. That matters for a beginner because it means you can open the app, pick a ready-made card design, and cut it the same afternoon. You do not have to learn vector drawing on day one. You will need a computer, tablet, or phone to run Design Space, plus the USB cable or Bluetooth connection that comes with the machine. Cardstock, a standard cutting mat, and the blade that ships in the box are enough for your first project.
Step 1: Unbox, Set Up, and Update the Machine
Take the machine out of the box and set it on a stable surface with a little room on all sides. The Maker 3 is not heavy, but it is not tiny either, so give it a spot where it will not get bumped while it works. Plug in the power cord, then download Design Space from the Cricut website and create a free account. The app walks you through connecting the machine by Bluetooth or USB and will ask you to update the firmware before the first cut. Do not skip that update. I tried to rush it once and the machine refused to recognize the mat until I let it finish.
The bundle's thirty included images appear in your Design Space account automatically once you link the machine. I mention this because it is the part people forget to look for. They set up the hardware, then assume they have to draw their own designs or buy more, when the starter library is already sitting in the app.
Step 2: Pick a Card Size and Load the Mat
For a standard folded card, I cut a rectangle of cardstock at 5.5 by 8.5 inches, which folds to 5.5 by 4.25, a size that fits a standard envelope. In Design Space, you can set your canvas size to match, or you can choose a pre-sized card project. The important thing is to keep the piece within the 12 by 12 cutting area and to leave a little margin so the mat can grip the edges.
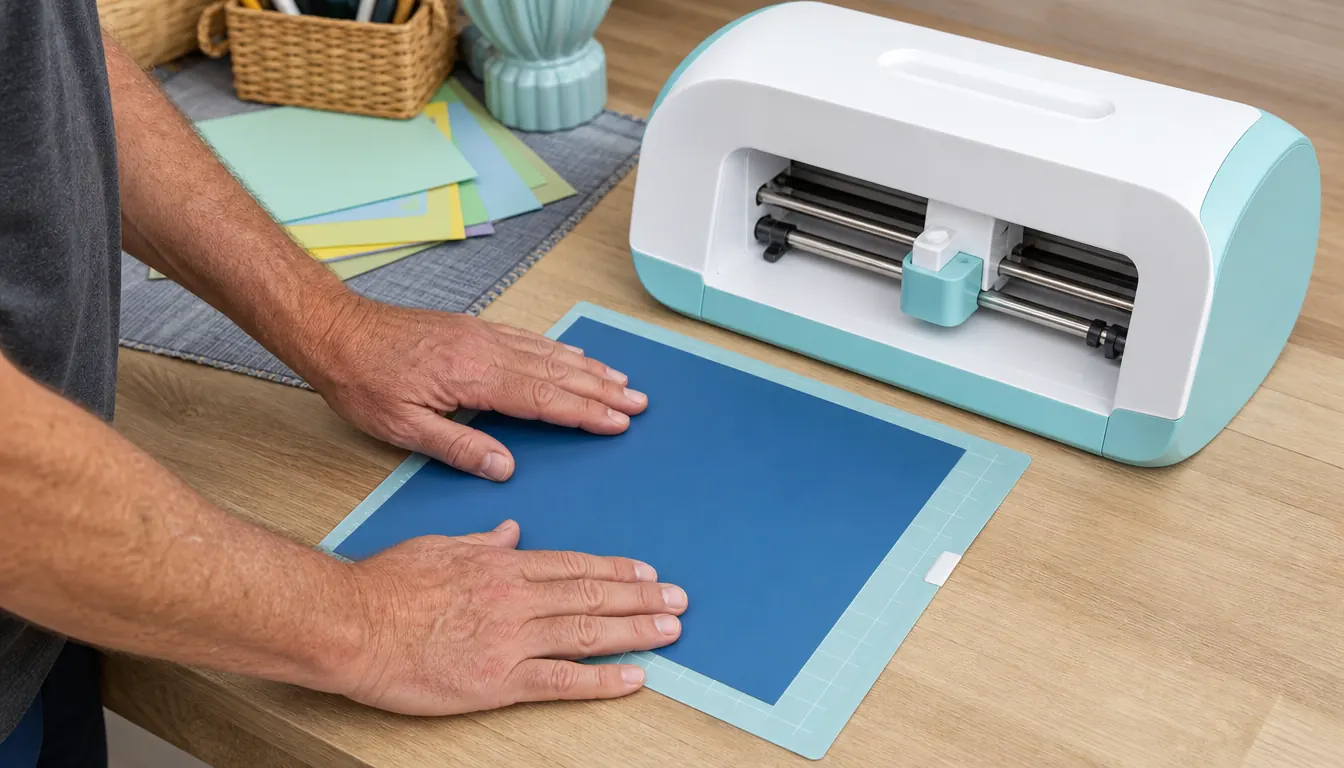
Place the cardstock on the standard grip mat, smooth it down with your hand or a brayer, and make sure the corners are firmly pressed. I press the paper onto the mat, then run a fingernail along the edges one more time. A corner that lifts during cutting will shift the design, and a shifted design on a folded card is something you cannot unsee. With my thumb, that extra press is quick, and it saves me from redoing the whole mat.
Step 3: Choose the Material Setting and Send the Cut
Design Space has a material selection screen where you tell it what you are cutting. For basic cardstock, choose the cardstock setting and let the machine set the pressure. The Maker 3 cuts cardstock cleanly with the fine-point blade that comes in the box, so you do not need a special blade for your first project. If the paper is textured or heavy, the app offers a more pressure option, and there is also a custom setting if you want to dial it in.
Before you hit the button, use the preview window in Design Space to look at where the cuts will fall on the mat. This is the step that saves the most material. I have wasted plenty of paper by sending a design without checking that it was centered, and the preview takes ten seconds. When you are ready, press the load button, let the machine pull the mat in, and send the cut.
Step 4: Score the Fold Line and Cut the Base
The thing that makes a card look store-bought instead of homemade is a crisp fold. On the Maker 3, you can add a score line to your design and cut it with the scoring wheel or the scoring stylus, depending on which tool you have. The scoring wheel is fast and is the tool I reach for most. It presses a shallow groove into the cardstock along the fold line, and the card folds exactly where you want it to.
If you do not have a scoring tool yet, you can still get a good result. Cut the card base first, then fold along the cut line with a bone folder. I have made dozens of cards that way before I bought the scoring wheel, and nobody at my monthly craft night has ever complained. The scoring tool just makes the fold faster and a little more even.
Step 5: Cut the Embellishments and Assemble
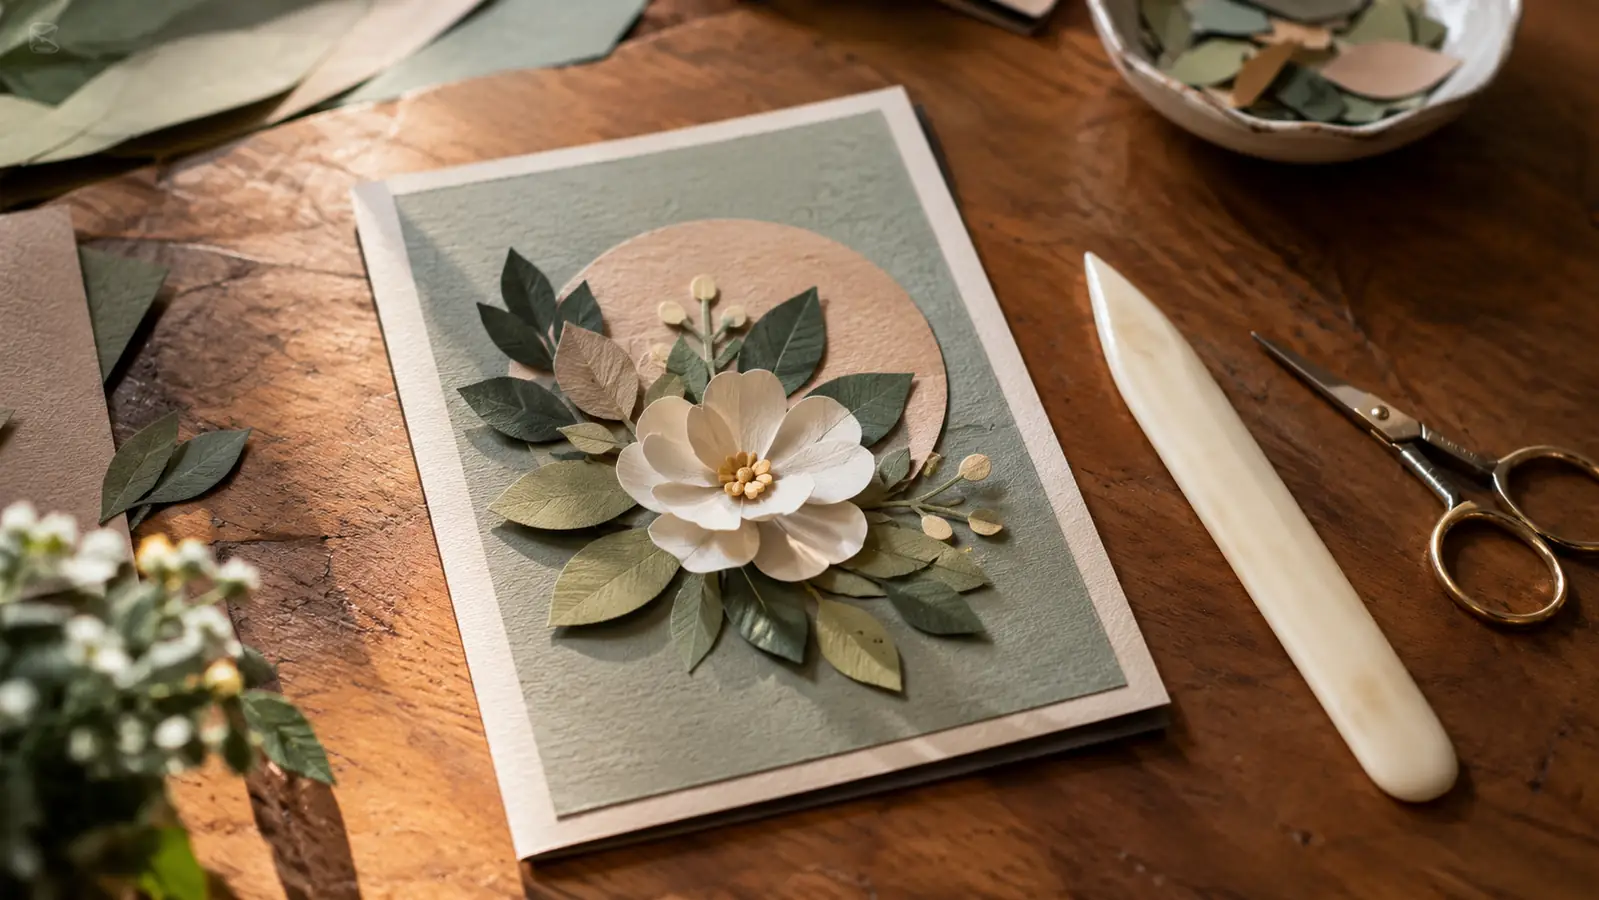
Now for the fun part. Once the card base is cut and folded, switch to a smaller piece of cardstock, vinyl, or adhesive foil for the front design. Cut a sentiment, a shape, or a layered flower, then weed away the excess and attach the pieces with glue or transfer tape. Because the Maker 3 cuts each piece at the same size every time, your layers line up when you stack them, which is the main reason I stopped hand-cutting these shapes.
Assemble the card while the pieces are still on the mat or after you have moved them to the table, whichever is easier. I like to lay everything out on the folded card before gluing anything, so I can see if the spacing works. Then I glue the back layer first and work forward. The whole process, from opening Design Space to a finished card, takes me about twenty minutes once the setup is done.
One tip for your first card: keep the front design simple. A single sentiment in the center and one small shape in the corner looks intentional and teaches you the basics without a lot of weeding. Save the layered flowers for the second or third project, once you are comfortable swapping tools and changing settings.
What Else Helps
A few things make the routine easier. A brayer helps press large sheets onto the mat without wrinkles. A spatula tool lifts paper without bending it. A bone folder makes folding quick. And a small trash bin next to the table catches the vinyl scraps and paper offcuts, which I learned the hard way after finding glitter in my slippers for a week. None of these are required, but they are the tools I actually reach for during a card-making evening.
One more thing worth buying is a pack of replacement blades. Cardstock dulls the fine-point blade faster than you expect, and a dull blade shows up as fuzzy edges on letters. When the cut edges start to look rough, I swap in a fresh blade. The swap takes about a minute, and it is the cheapest way to keep the machine cutting cleanly.
The whole process, from opening Design Space to a finished card, takes me about twenty minutes once the setup is done.
The Learning Curve Is Shorter Than You Think
The biggest question people ask me at craft night is whether the Maker 3 is hard to learn. My honest answer: the first project takes longer because you are learning the app, but the app is the same one Cricut uses across all its machines, so the skills carry over. I am not a natural with software. I taught art, not computer science. If I can get a card cut in an evening, most people can.
The other question is whether the Maker 3 is more machine than a card maker needs. For strictly cards, the Explore series is a solid choice and the comparison is worth reading. But I chose the Maker 3 because I also do a little scrapbooking and sewing, and it cuts materials like leather, basswood, and fabric that the Explore cannot handle. For my rotating hobbies, it has been the right call.
Troubleshooting the First Cut
Two problems show up almost every time someone tries a new machine, and both have easy fixes. The first is the mat not loading straight. If the mat goes in crooked, the cuts will be off. Pull the mat out, line up the edges with the guides on the machine, and push it in evenly. The second is the design cutting in the wrong spot, which usually means the mat was placed upside down or the canvas size does not match the material size. The preview screen in Design Space shows you exactly where everything will land, so check it before you send.
If the blade is not cutting all the way through, the fix is usually the material setting, not the blade. Cardstock needs the cardstock setting, and thick or textured paper needs a heavier pressure. I keep a scrap piece of the same paper to test on before I commit the real sheet. That test takes thirty seconds and has saved me more cardstock than I can count.
Why I Keep Reaching for the Maker 3
After a few months with the machine, I can tell you the honest tradeoff. It takes up table space, it makes a little noise while it works, and you have to learn a new app. What it gives back is time and consistency. I can cut a set of eight matching cards in an evening, which I could never do by hand without the sizes wandering. For a retired art teacher who still likes to make things, that is a fair trade.
Your first card could be done this evening
Set up the machine, pick a design from the included library, and cut a folded card in about twenty minutes. See the current price and what comes in the box on Amazon.
Amazon Check Today's Price on Amazon →