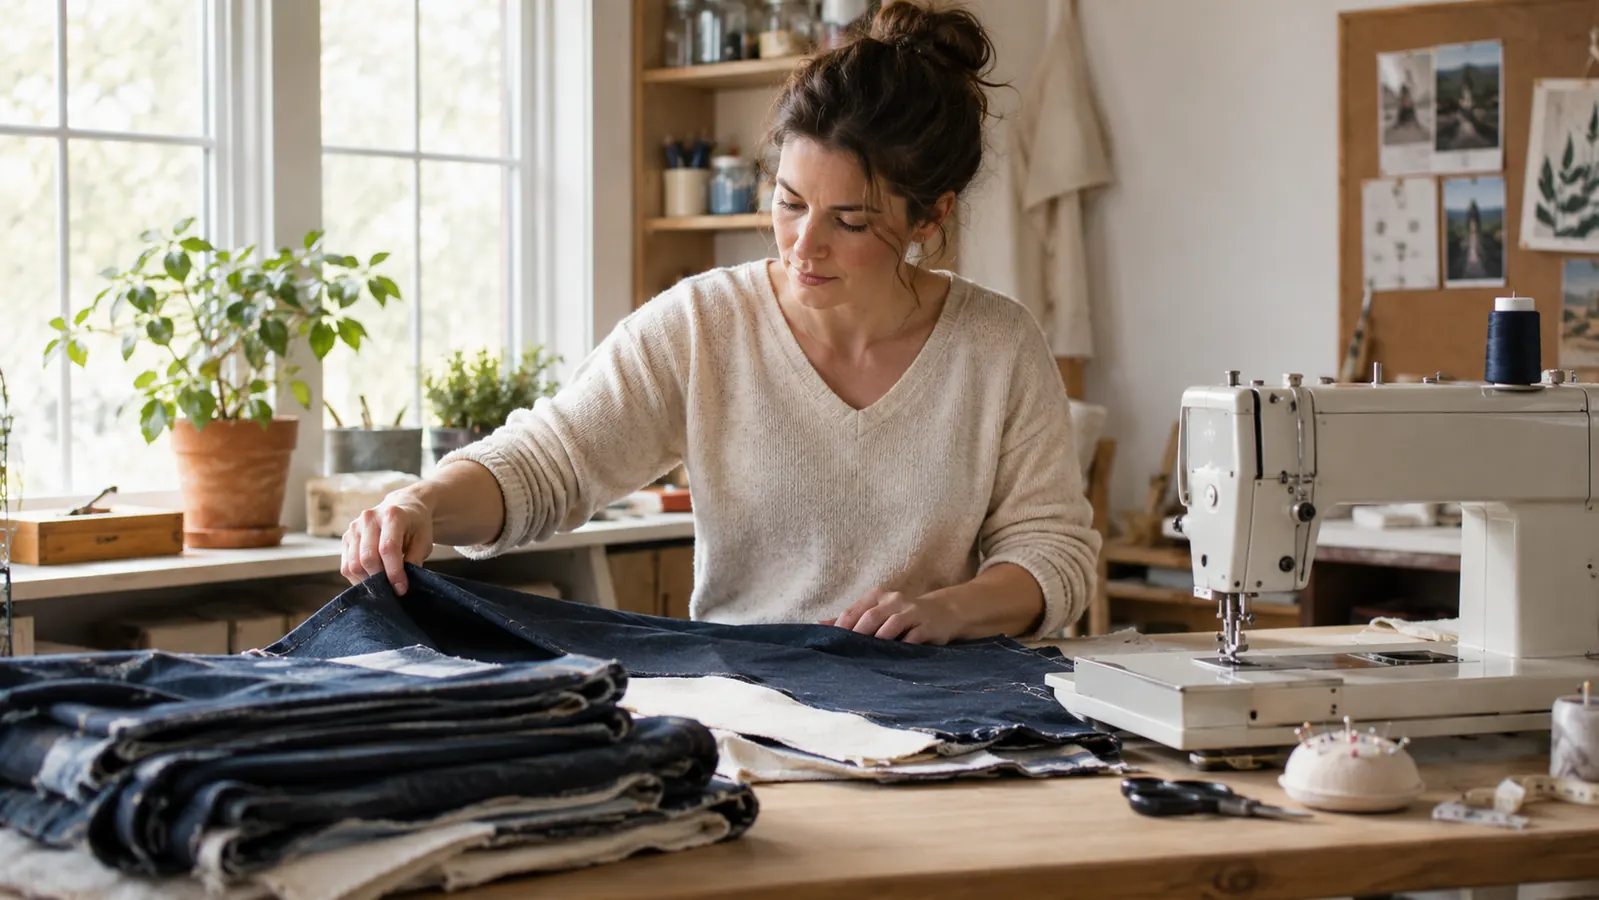
Every time I pulled a piece of canvas or denim out of my fabric bin, I used to talk myself out of the project. My SINGER 4423 sat right there on my craft table, and I would reach for a lighter fabric instead, something that would not fight back. Then a friend from craft night brought over a stack of old jeans and asked if I could turn them into a quilt, and I finally had to learn how to sew thick fabric on my machine the hard way. This is the setup that worked, and the one mistake that wasted my whole afternoon, so you can skip the part I got wrong.
The trouble with thick fabric is that it asks the machine to do three things at once: pierce through layers, pull the thread through without looping, and move the fabric forward without jamming. Most home machines handle a single layer of canvas without complaint. It is the stacking that gets you. Two layers of denim, a folded hem, a seam where four layers meet, that is where the stitches start skipping and the needle starts to protest. The fix is not a better machine, at least not yet. The fix is setting up the machine you already own so it stops fighting the material.
The machine that sews canvas without a fuss
This is the SINGER 4423 on my craft table. The metal frame, the presser foot pressure dial, and the extra high presser foot lifter carried me through canvas totes and a jean quilt. See today's price on Amazon.
Amazon Check Today's Price on Amazon →Step 1: Swap the needle before you touch anything else
A needle made for light fabric will bend, dull, or simply give up the moment it meets a thick seam. I learned this when I broke two needles in one afternoon and spent the rest of the day wondering if my machine was broken. It was not. The needle was wrong. For thick fabric, use a jeans or denim needle in a size 100/16 or 110/18. The heavier shaft and the stronger point push through a dense weave without deflecting to one side.
Here is why the size matters more than the brand on the packet. A 90/14 needle is a fine all around choice for quilting cotton. A 100/16 needle is noticeably thicker, and the eye is larger too, so heavier thread can pass through without dragging. That larger eye does more work than people give it credit for. If the thread scrapes against the needle, it can shred or form loops on the underside of the seam. So pair the new needle with thread that suits it, which brings me to step two. And change the needle at the start of every heavy job, even if the last project did not seem to wear it out.
One caution from the floor of my craft room: push the needle up into the clamp until it is fully seated, then tighten the screw firmly. A loosely seated needle is the sneakiest cause of skipped stitches on any sewing machine, and the fix takes two seconds. The upper thread should wrap around the needle from front to back, and the needle should sit with the flat side facing the direction your manual shows. I check this every time now because it saved me from a whole evening of redoing rows on a canvas tote.
Step 2: Match your thread and set the tension by testing, not guessing
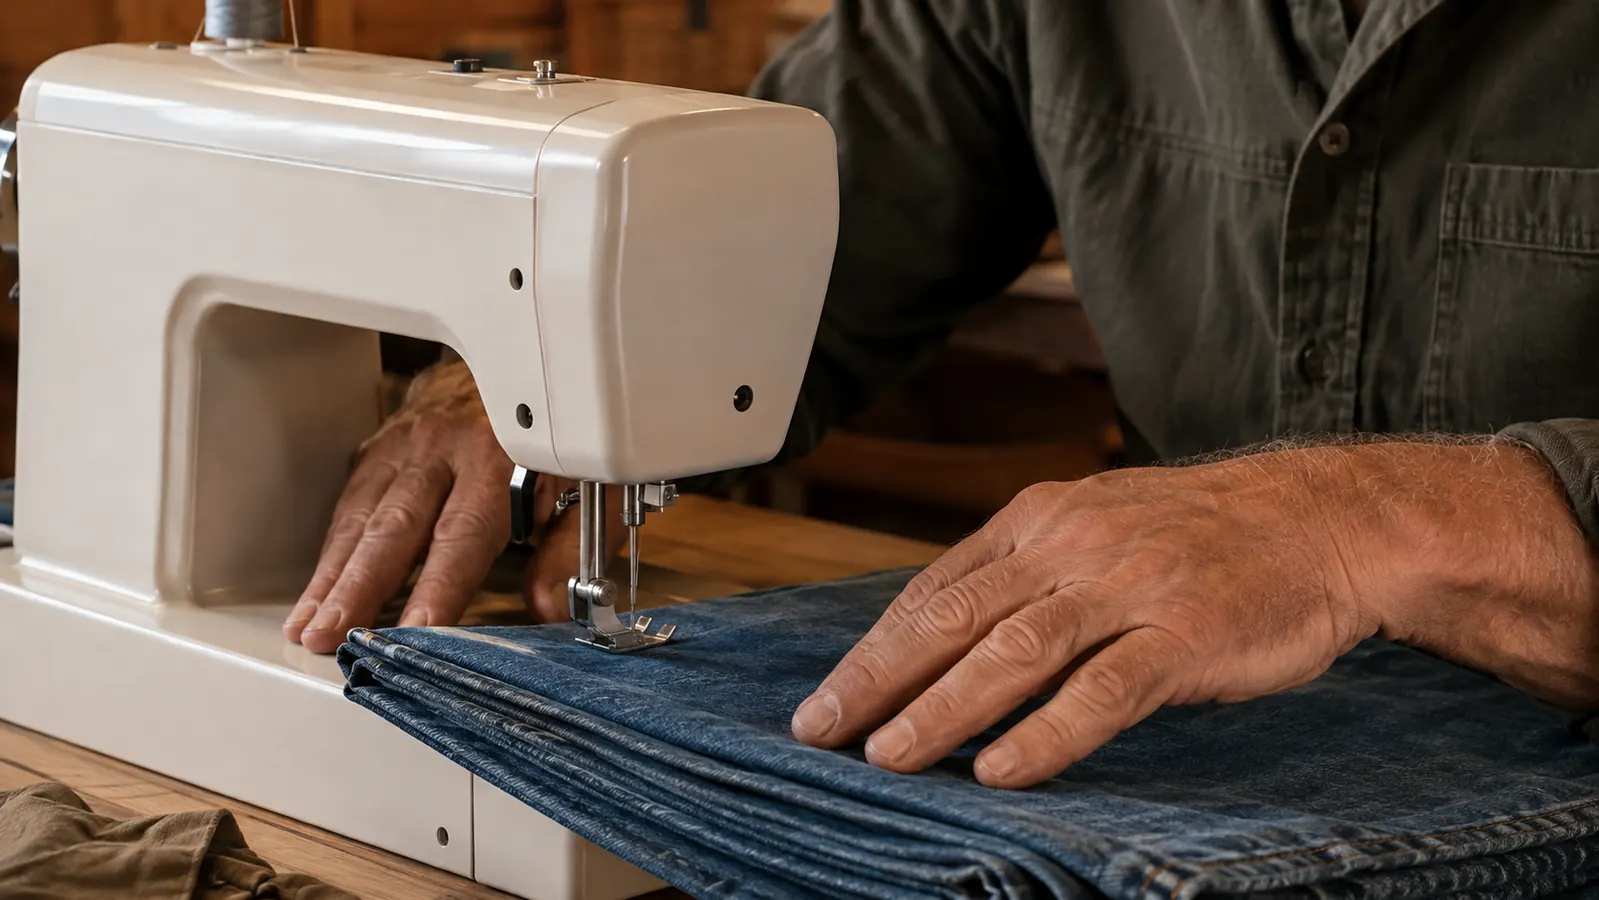
All purpose polyester thread is what most of us keep in the craft room, and it is the right starting point for most thick projects, as long as it is decent quality. Skip the bargain spools that unwind themselves and shed lint into the bobbin case. For denim and canvas, a heavier thread, like a 30 weight or a labeled topstitching thread, gives cleaner stitches and holds up better where the seam takes strain. Wind a fresh bobbin with the same thread and wind it slowly so it lays evenly. An uneven bobbin is another quiet cause of loose loops on the underside.
Now the tension, and I will be honest, tension dials made me nervous for years because I could not tell what I was looking at. The 4423 has a dial on the front with a numbered scale, and the manual points to a standard setting around 4. Treat that as a starting point, not a law. When I switch from quilting cotton to denim, the top thread usually needs a little more tension, often half a number or a full number higher, because the dense fabric pulls on the thread differently. The way to know is to test on a scrap of the actual fabric, two layers, exactly as the real seam will sit. Five minutes of testing saves an hour of seam ripping.
The reading rule that finally made the dial click for me: the side of the seam that looks messy tells you which thread to adjust. Loops on the top of the seam mean the bobbin tension is too loose or the top tension is too tight. Loops underneath mean the top tension is too loose and needs to come up. Balanced stitches look the same on both sides. So test, turn the dial a small amount, test again. Small turns, one number at a time, and write down what worked for each fabric so you do not have to relearn it next month.
Step 3: Use a longer stitch and lighten the presser foot pressure
A short stitch length is for fine fabric and delicate detail work. Thick fabric wants a longer stitch, usually in the 3.5 to 4.5 range on the length dial, because each stitch needs room to seat itself into a dense weave. Short stitches on heavy fabric pile up, make the seam stiff, and put extra stress on the needle on every pass. I set my 4423 to around 4 for denim and canvas and I run a test line first. If the fabric puckers, I lengthen the stitch. If the seam feels too open, I shorten it a touch. The dial is there to be used.
The other dial that matters for thick fabric is the presser foot pressure. This is the feature that makes the 4423 a better fit for heavy sewing than a lot of machines in its class. There is a way to reduce the pressure so the foot does not mash the fabric flat. When the foot presses too hard, thick layers get pushed out of shape and the feed dogs cannot grip evenly, which is what makes the fabric drag or shift as you sew. Back the pressure off for thick stacks and the feed dogs pull the material through at a steady rate.
Put it in plain craft room language: the presser foot is the hand that holds the fabric down while the feed dogs move it along. For a quilt you want a firm but gentle hand so the layers slide evenly together. For light fabric the default pressure is right. For three or four layers of denim, ease the pressure down. The 4423 also has the extra high presser foot lifter, the little lever that raises the foot higher than a normal lift. That extra height is what lets you slide a chunky seam, like the folded center of a tote bag, under the foot without forcing it and without breaking the needle.
Step 4: Pick the right presser foot and let the machine feed the fabric
The all purpose foot that comes with the 4423 handles a great deal, but thick and sticky materials like vinyl or faux leather will grab that foot and stall mid seam. That is where a walking foot earns its keep. A walking foot has feed dogs on top as well as below, so the top layer and the bottom layer move at the same speed. It stops the shifting that leaves your back layer a quarter inch shorter than the front. I use a walking foot for every quilt and every lined bag, and it is the single most useful attachment I have bought for my machine.
For vinyl and faux leather specifically, a roller foot or a Teflon coated foot is the better match. The roller foot rolls over sticky surfaces instead of dragging across them. I made a pencil case out of faux leather last winter, and the regular foot would hardly budge the material. The roller foot glided over it without a pause. For plain canvas and denim, the walking foot handles the job, so you do not need to buy a drawer full of specialty feet all at once.
Whichever foot you choose, let the machine do the feeding. Do not pull or push on the fabric. That instinct to help the machine along is the number one reason seams drift off the line. Guide the fabric with light hands, one in front of the needle and one behind it, and keep the raw edge lined up with your seam guide or a strip of painter's tape stuck to the metal bed. The bed on the 4423 is stainless steel and kind to fabric. I keep a piece of tape at the exact width I need for the current project, which saves me from eyeballing every seam.
Step 5: Reduce the bulk at seams and keep your speed calm
Thick projects stop looking hard at the moment you deal with the seams. When four or eight layers of fabric meet inside a corner, the machine suddenly has to climb a small mountain. The fix is to reduce the bulk before you sew. Trim the seam allowance, grade the layers so they step down instead of stacking, and clip the curves so the fabric lies flat. A seam you can press open is a seam that will look professional. I spent my first heavy projects wrestling the seams the hard way before I realized the prep work did all the heavy lifting.
Speed is the other thing to keep calm. The 4423 can sew faster than I can guide fabric, and I mean that sincerely. Fast sewing on heavy material means more heat, more stress on the needle, and less time to correct a wandering seam line. I keep the speed control in the lower range for the first pass on any thick seam. Once the row is in and the machine is warmed up, I open the speed back up for long straight runs. Slow beats fast every time when the seam matters, and it is easier on my thumb too.
One more tip that sounds small and saves real heartache: sew a test line on the actual stack of fabric before you start the project, then try to tear the seam apart. If the stitches pop apart easily, your stitch length is too short or your tension is off. If the seam holds, you are good to go. This test caught a bobbin tension problem last month that would have ruined an entire tote bag. Thirty seconds of testing beats an hour of seam ripping, and it is the closest thing to a guarantee a home crafter gets.
What Else Helps
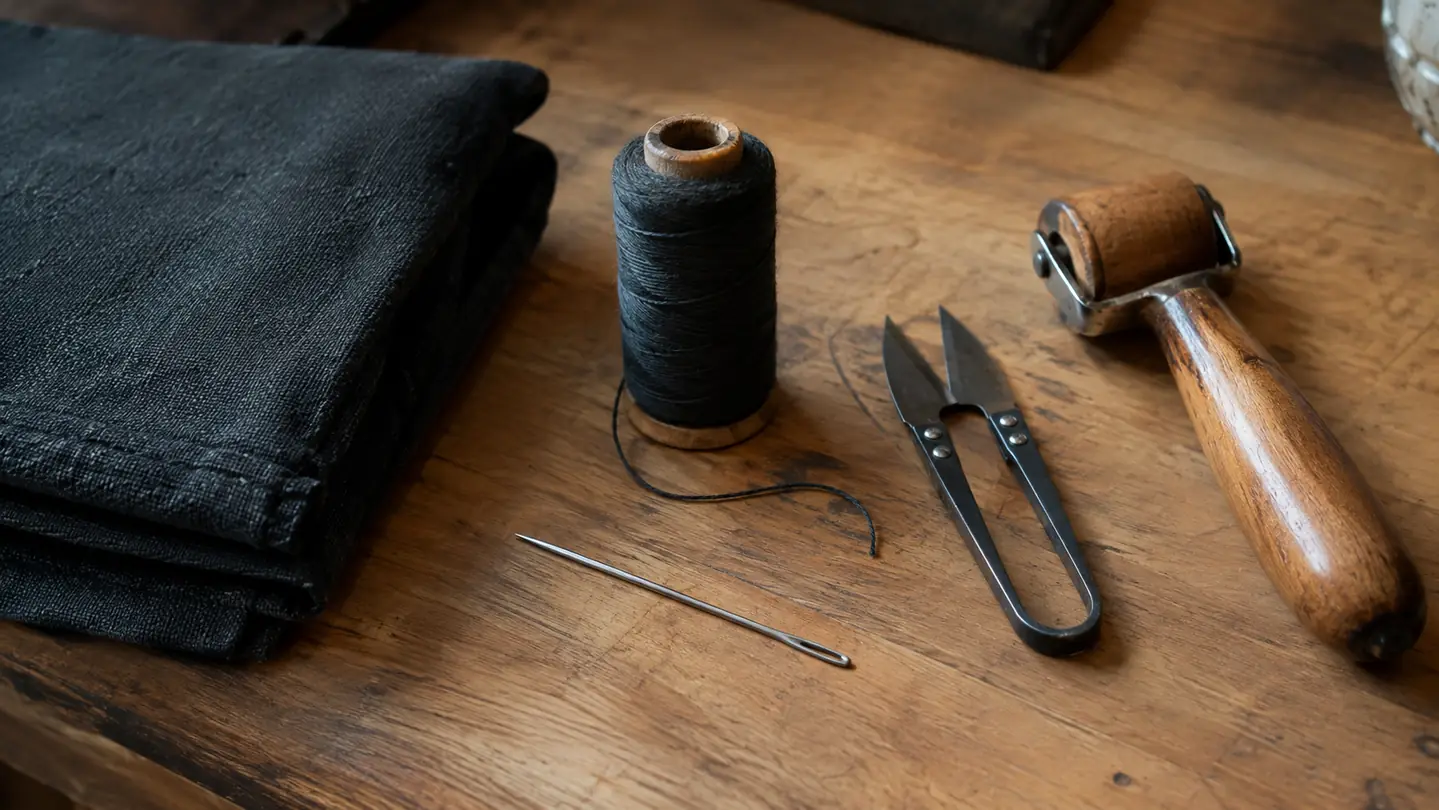
A few extras made thick fabric sewing noticeably easier for me. A seam roller or a wooden clapper helps press thick seams flat without scorching the fibers. A stiletto or a wooden awl is safer than your fingertips for easing a stubborn layer up to the needle. Small snips keep thread tails short so they do not tangle in the bobbin area. And a spare bobbin case is worth having on hand for when the first one gets linty mid project. None of these cost much, and they all save the fiddly minutes that make a project drag.
Here is the honest limit to name. The 4423 is a domestic machine with a strong motor and a metal frame, but it is not an industrial machine. It will sew most thick fabrics a home crafter will ever pull from a shelf: multiple layers of denim, heavy canvas, upholstery weight fabric, and lighter leather. If your projects run to heavy saddle leather or eight layers of thick webbing every weekend, that job belongs to a machine built for it. Knowing that line is what turns thick fabric sewing from a gamble into a reliable skill, and the SINGER 4423 is the machine I trust to stay on that line with me.
A size 100/16 needle, a stitch length around 4, and a lighter presser foot carried me through a jean quilt that had stalled me for months.
Ready to stop fighting your fabric?
If you are shopping for a machine that will sit happily at a craft table and handle thick fabric on a hobbyist budget, the SINGER 4423 is the one I reach for. See today's price on Amazon, and read the long term review before you decide.
Amazon Check Today's Price on Amazon →